TiviMate is the most popular IPTV player for Android TV and Firestick, and for good reason: it looks and feels like a real cable box. This TiviMate setup guide shows you, step by step, how to install the app, add your playlist with Xtream Codes or M3U, load the TV guide, and choose the best settings for smooth 4K streaming in 2026.
Our support team at IPTV Mississauga helps Canadian customers with TiviMate setup every day, so this guide includes the exact tips that solve 95% of the questions we receive. The full TiviMate setup takes about 5 minutes.
What Is TiviMate and Why Is It So Popular?
TiviMate is an IPTV player — it doesn’t include any channels by itself. You connect it to your IPTV subscription and it organises everything into a beautiful, fast interface. Viewers love it because it offers:
- A cable-style TV guide (EPG) showing what’s on now and next across all channels.
- Fast channel switching with your remote, just like traditional TV.
- Favourites and custom groups so your most-watched channels are always first.
- Catch-up and recording (with Premium) so you never miss a game or a show.
- Multiple playlists if you have more than one subscription.
TiviMate runs on Android-based devices: Fire TV Stick (Fire OS), Android TV boxes, Google TV, Nvidia Shield and many Android Smart TVs. It is not available for iPhone or Apple TV. You can find official information on the TiviMate website.
Before Your TiviMate Setup: What You Need
- An Android TV device or a Firestick running Fire OS.
- Your IPTV subscription details: Xtream Codes (server URL, username, password) or an M3U link. No subscription yet? Compare our plans.
- A stable connection of at least 15 Mbps for HD or 25 Mbps for 4K.
Step 1: Install TiviMate
On Android TV, Google TV or Nvidia Shield: open the Google Play Store, search for TiviMate IPTV Player and click Install.
On Firestick: TiviMate isn’t in the Amazon Appstore, so you install it with the free Downloader app. If you haven’t done that before, follow the first three steps of our guide on how to set up IPTV on Firestick, then enter the official TiviMate download address in Downloader.
When the installation finishes, open TiviMate. You’ll see the welcome screen with an Add playlist button.
Step 2: Choose Your Playlist Type (Xtream Codes vs M3U)
TiviMate asks how you want to add your channels. Here’s how the two options compare:
| Option | What you enter | Our recommendation |
|---|---|---|
| Xtream Codes | Server URL + username + password | Best choice — loads Live TV, movies, series and the EPG automatically |
| M3U playlist | One long link (URL) | Use only if your provider asks you to |
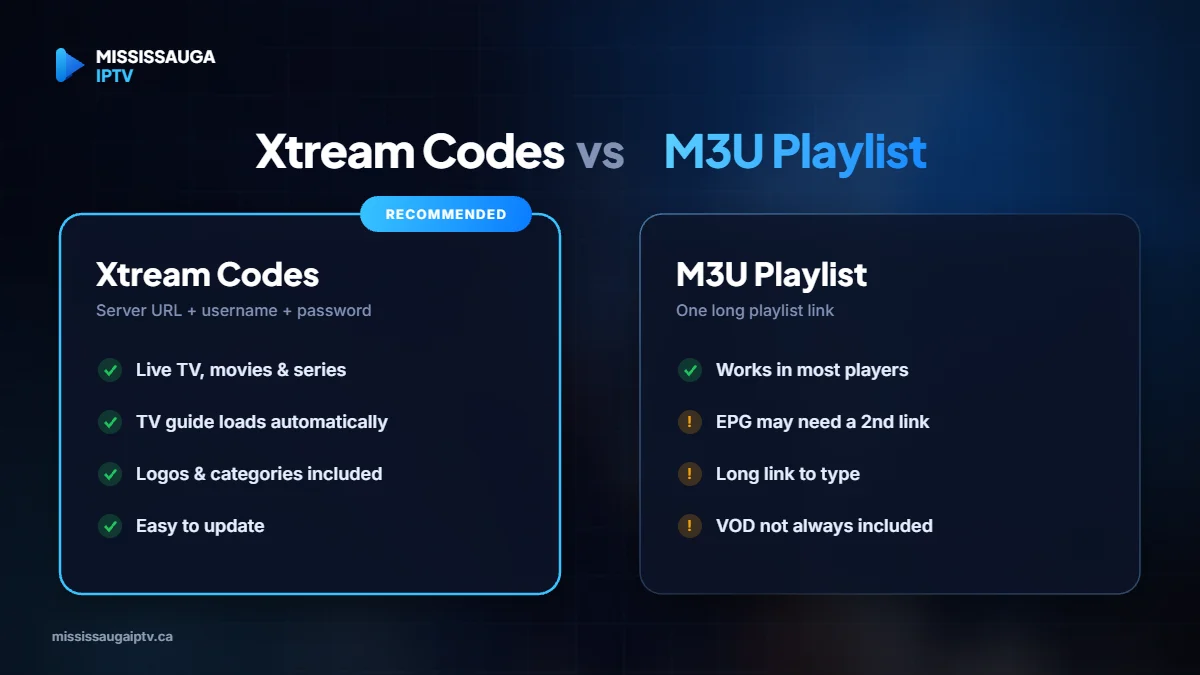
For almost every subscription, Xtream Codes gives the best TiviMate setup because the TV guide, logos and categories load automatically.
Step 3: Enter Your Xtream Codes Login
- Select Xtream Codes on the “Add playlist” screen.
- Type the server address exactly as written in your activation message (including http:// and the port number if there is one).
- Enter your username and password. They are case-sensitive.
- Click Next. TiviMate checks your account and shows the number of channels, movies and series found.
- Give the playlist a name, such as “IPTV Mississauga”, and click Done.
Using an M3U link instead? Select “M3U playlist”, type the full link carefully with your remote (or a Bluetooth keyboard), then click Next.
Step 4: Load the TV Guide (EPG)
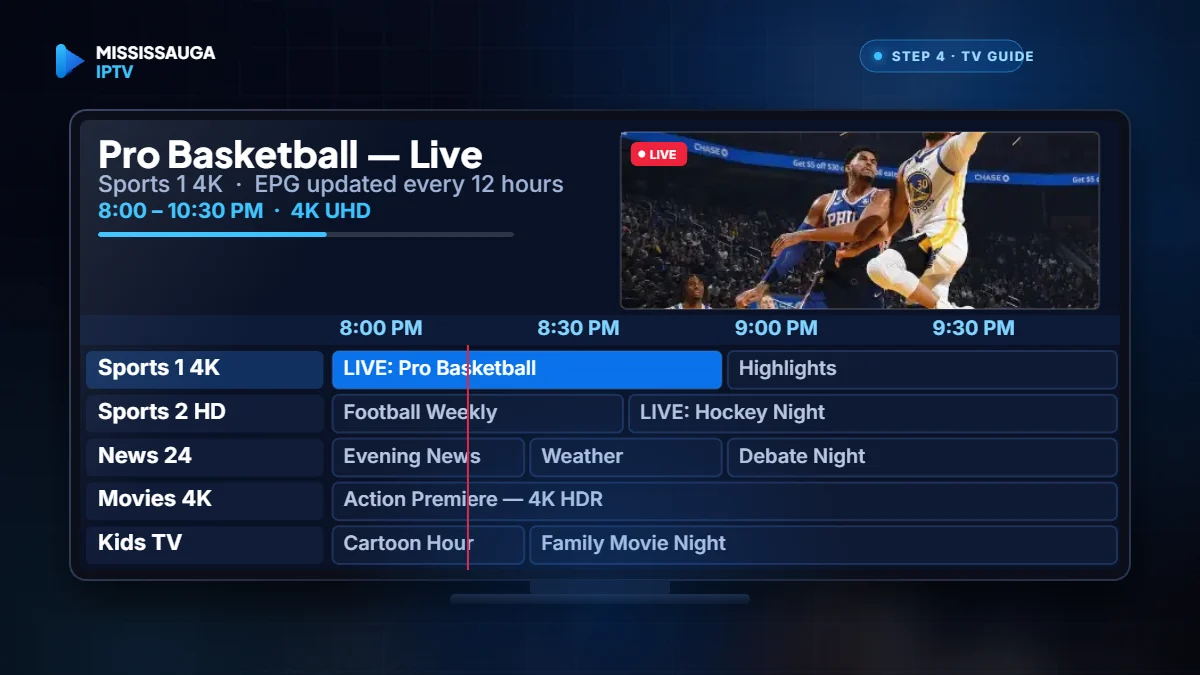
The EPG is what makes TiviMate feel like cable. With Xtream Codes it’s usually added automatically. To check:
- Open Settings → EPG.
- Make sure an EPG source is listed for your playlist.
- Select Update EPG and wait one to three minutes.
- Set Update interval to every 12 or 24 hours.
If your provider gave you a separate EPG link, choose Add EPG source and paste it there. Return to the TV guide — you should now see programme names and times for each channel.
Step 5: Organise Your Channels and Favourites
A large playlist can contain thousands of channels. Spend two minutes organising it and you’ll save hours later:
- Hide groups you never watch: go to Settings → Playlists → your playlist → Manage groups, and untick the countries or categories you don’t need.
- Create favourites: long-press OK on a channel and select Add to favourites (Premium).
- Reorder groups: move Canada, Sports and News to the top of the list.
- Turn on channel numbers if you like to zap with the number keys on your remote.
Step 6: Best TiviMate Settings for Smooth Streaming
These are the settings our support team recommends after testing on Canadian networks:
- Settings → Playback → Buffer size: set to Medium or Large. A larger buffer reduces freezes during busy evening hours.
- Settings → Playback → Automatic frame rate (AFR): turn On for smoother sports if your TV supports it.
- Settings → Playback → Video decoder: keep Hardware; only try “Software” if a specific channel stutters.
- Settings → General → Start on boot: turn On if you want TiviMate to open automatically like a cable box.
- Settings → Appearance: pick the layout you like — the classic guide view is the most popular.
If you still see freezes, our list of 9 proven IPTV buffering fixes will help you find the cause.
TiviMate Setup on Firestick vs Android TV
The TiviMate setup is almost identical on every device, but there are a few differences worth knowing:
| Device | How to install | Notes |
|---|---|---|
| Android TV / Google TV | Google Play Store | Easiest install, automatic updates |
| Nvidia Shield | Google Play Store | Best performance for 4K and AFR |
| Fire TV Stick (Fire OS) | Downloader app | Enable “Install unknown apps” first |
| Fire TV with Vega OS | Not supported | Use an Android TV device instead |
On a Firestick, remember to check for TiviMate updates yourself from time to time, because apps installed with Downloader don’t update automatically through the Appstore.
How to Use the TiviMate TV Guide Like a Pro
After your TiviMate setup is complete, these shortcuts make daily viewing much faster:
- Press OK on any channel to open the mini guide and see what’s on next.
- Press left on the remote to open the channel groups and jump straight to Sports, News or Kids.
- Long-press OK on a programme to set a reminder or (with Premium) schedule a recording.
- Use Catch-up (Premium, if your subscription supports it) to rewind live programmes from earlier in the week — perfect when a game starts before you get home.
- Search with the magnifying glass to find any channel or programme by name.
Back Up Your TiviMate Settings
Once your channels, favourites and groups are organised, save your work. In TiviMate open Settings, look for the Backup data option (in the General section on most versions) and save a backup file. If you ever reinstall the app or move to a new device, you can restore everything in seconds instead of repeating the full TiviMate setup.
TiviMate Free vs Premium: Is Premium Worth It?
The free version lets you watch Live TV with the guide. TiviMate Premium unlocks the features most people want for daily use, including favourites management, catch-up, recording, multiple playlists and more customisation. Premium is activated through the TiviMate Companion app on an Android phone, and one account can be used on several devices.
If you use TiviMate every day, Premium is worth it — especially for favourites and catch-up during busy hockey and football seasons.
How to Set Up Recording in TiviMate
Recording is one of the best reasons to complete your TiviMate setup with Premium. It turns your streaming stick into a personal video recorder:
- Make sure your device has enough free space — a USB drive is the best option on Android TV boxes, because one hour of HD video can take 1 to 3 GB.
- Open Settings → Recording and choose where recordings are saved.
- In the TV guide, long-press OK on a future programme and select Record.
- Find finished recordings in the Recordings section of the main menu.
On a Firestick, internal storage is limited, so keep recordings short or delete them after watching.
TiviMate Setup Checklist
Use this checklist to confirm your TiviMate setup is complete and optimised:
- TiviMate installed from the Play Store or with Downloader on Fire OS.
- Playlist added with Xtream Codes (preferred) or M3U.
- EPG loaded and set to update every 12 or 24 hours.
- Unwanted groups hidden and favourite groups moved to the top.
- Buffer size set to Medium or Large.
- Automatic frame rate turned on if your TV supports it.
- Backup saved after organising everything.
If every item is ticked, your TiviMate setup is finished and ready for daily viewing. Keep this list handy if you ever move the app to a new TV or device.
Common TiviMate Setup Problems and Fixes
- “Login failed” or “Invalid playlist” — re-check the server URL, username and password; one wrong character is the usual cause.
- No programme information in the guide — update the EPG manually and confirm the EPG source is linked to your playlist.
- Channels are in the wrong order — reorder groups in Manage groups, or use channel numbers.
- Picture freezes on some channels — increase the buffer size and switch to a wired or 5 GHz connection.
- App asks to log in again — your subscription may have expired or reached its device limit; contact your provider’s support.
5 TiviMate Setup Mistakes to Avoid
Most problems we see in support come from small mistakes made during the first TiviMate setup. Avoid these and the app will run smoothly for months:
- Typing the server URL without “http://” or the port. TiviMate needs the full address exactly as your provider sent it. Missing one character means “login failed”.
- Adding the same playlist twice. Duplicate playlists double the number of channels, slow down the guide and can use two connections at once. Keep one playlist per subscription.
- Never updating the EPG. If the guide shows “No information”, set an automatic update interval and refresh it manually once after setup.
- Leaving every group visible. Loading thousands of international channels you never watch makes scrolling slow. Hide them in Manage groups.
- Skipping the backup. After spending time on favourites and groups, one reinstall can erase everything. Save a backup as soon as your TiviMate setup is finished.
A clean, well-organised TiviMate setup loads faster, switches channels quicker and makes the whole family’s viewing easier. If you’re unsure about any step, our support team can check your configuration on WhatsApp in a couple of minutes.
Finally, remember that TiviMate is only as good as the subscription behind it. A stable provider with accurate EPG data, clean channel groups and responsive support makes every part of your TiviMate setup easier — from the first login to daily viewing. That’s why we test every playlist we deliver in TiviMate before activating it for our customers across Canada.
Frequently Asked Questions
How long does the TiviMate setup take?
About 5 minutes with Xtream Codes. Loading the full TV guide can take one to three extra minutes the first time.
Can I use TiviMate on iPhone or Apple TV?
No. TiviMate works only on Android-based devices. On Apple devices, use an alternative player that supports Xtream Codes.
Should I choose Xtream Codes or M3U?
Choose Xtream Codes whenever possible. It loads movies, series, the EPG and channel logos automatically and is easier to update.
Can I add two IPTV playlists in TiviMate?
Yes, with TiviMate Premium you can add multiple playlists and switch between them.
Why is my TiviMate setup not showing movies and series?
Movies and series appear automatically with Xtream Codes. If you used an M3U link, your provider may need to send a version that includes VOD, or you can switch to Xtream Codes login.
Does TiviMate update automatically?
On Android TV it updates through the Google Play Store. On a Firestick, check for updates manually, since sideloaded apps don’t update by themselves.
Does TiviMate include channels?
No. TiviMate is only a player. You need an active IPTV subscription to watch channels in it.
Start Watching With TiviMate Today
That’s the complete TiviMate setup: install, add your Xtream Codes login, load the EPG, organise your channels and apply the best settings. Need a reliable subscription that works perfectly with TiviMate? Choose your IPTV Mississauga plan — instant activation, a full TV guide and 24/7 WhatsApp support to help you finish your setup.